You can skip this section if you already have your shapefile ready.
Before Starting
Decidim Geo adds GIS functionality to Decidim and works with a specific geo-data file type called a Shapefile. A shapefile describes polygons, including their shape, name, and other metadata.
Decidim Geo allows you to bind shapefiles to Decidim scopes, enabling use cases such as:
- Adding a shape per neighborhood
- Adding regions (south/east/west) to the platform
- Using Decidim for a country or state with geographic shapes
Prepare Your Shapes in QGIS
QGIS is an open-source desktop application commonly used for geographic data manipulation. It enables various operations like creating layers, polygons, or points. In Decidim Geo, we use QGIS to prepare polygonal shapes for assignment to Decidim scopes.
Install QGIS
Install QGIS for your operating system (Mac/Linux/Windows): https://qgis.org/download/
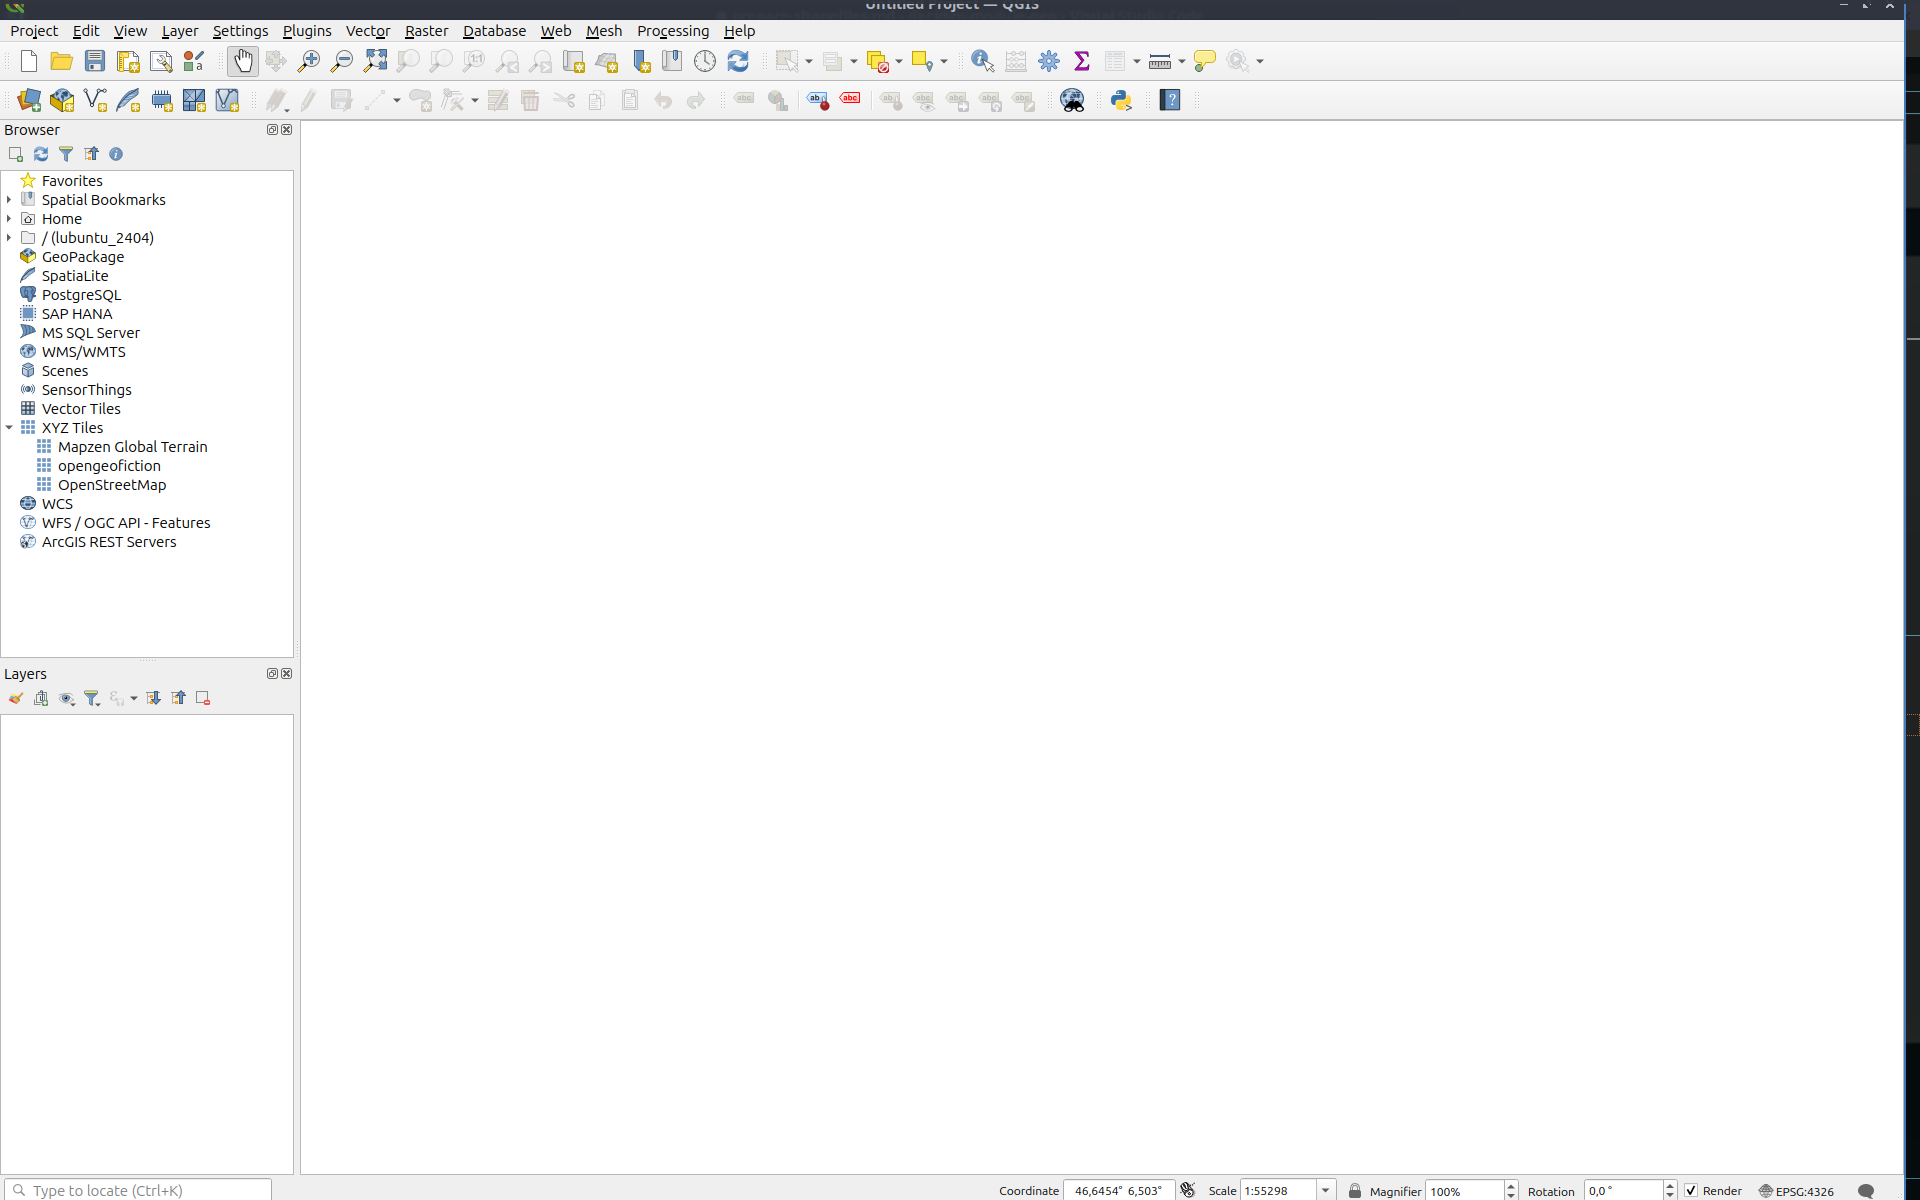
Open QGIS and use the OpenStreetMap tiles
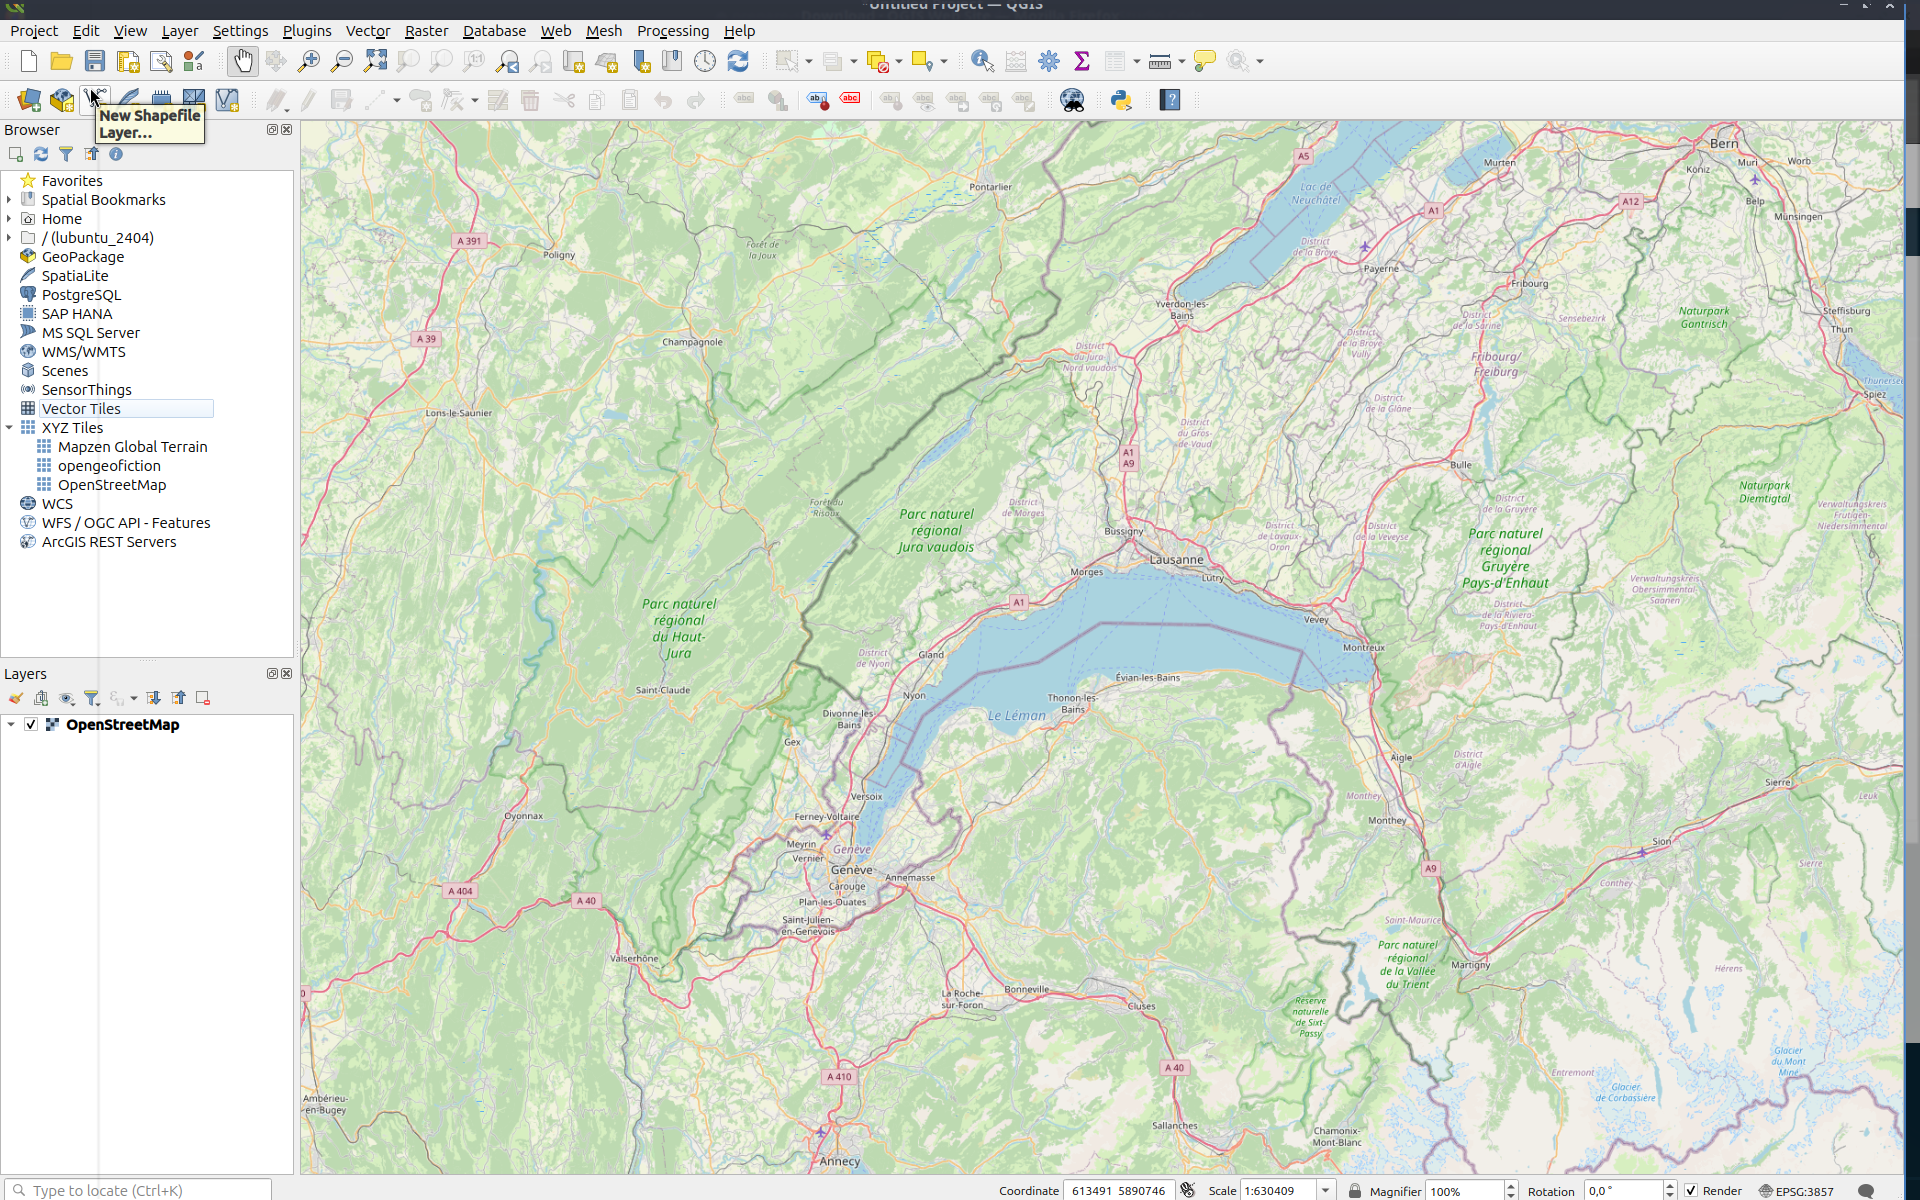
Add a Shapefile Layer
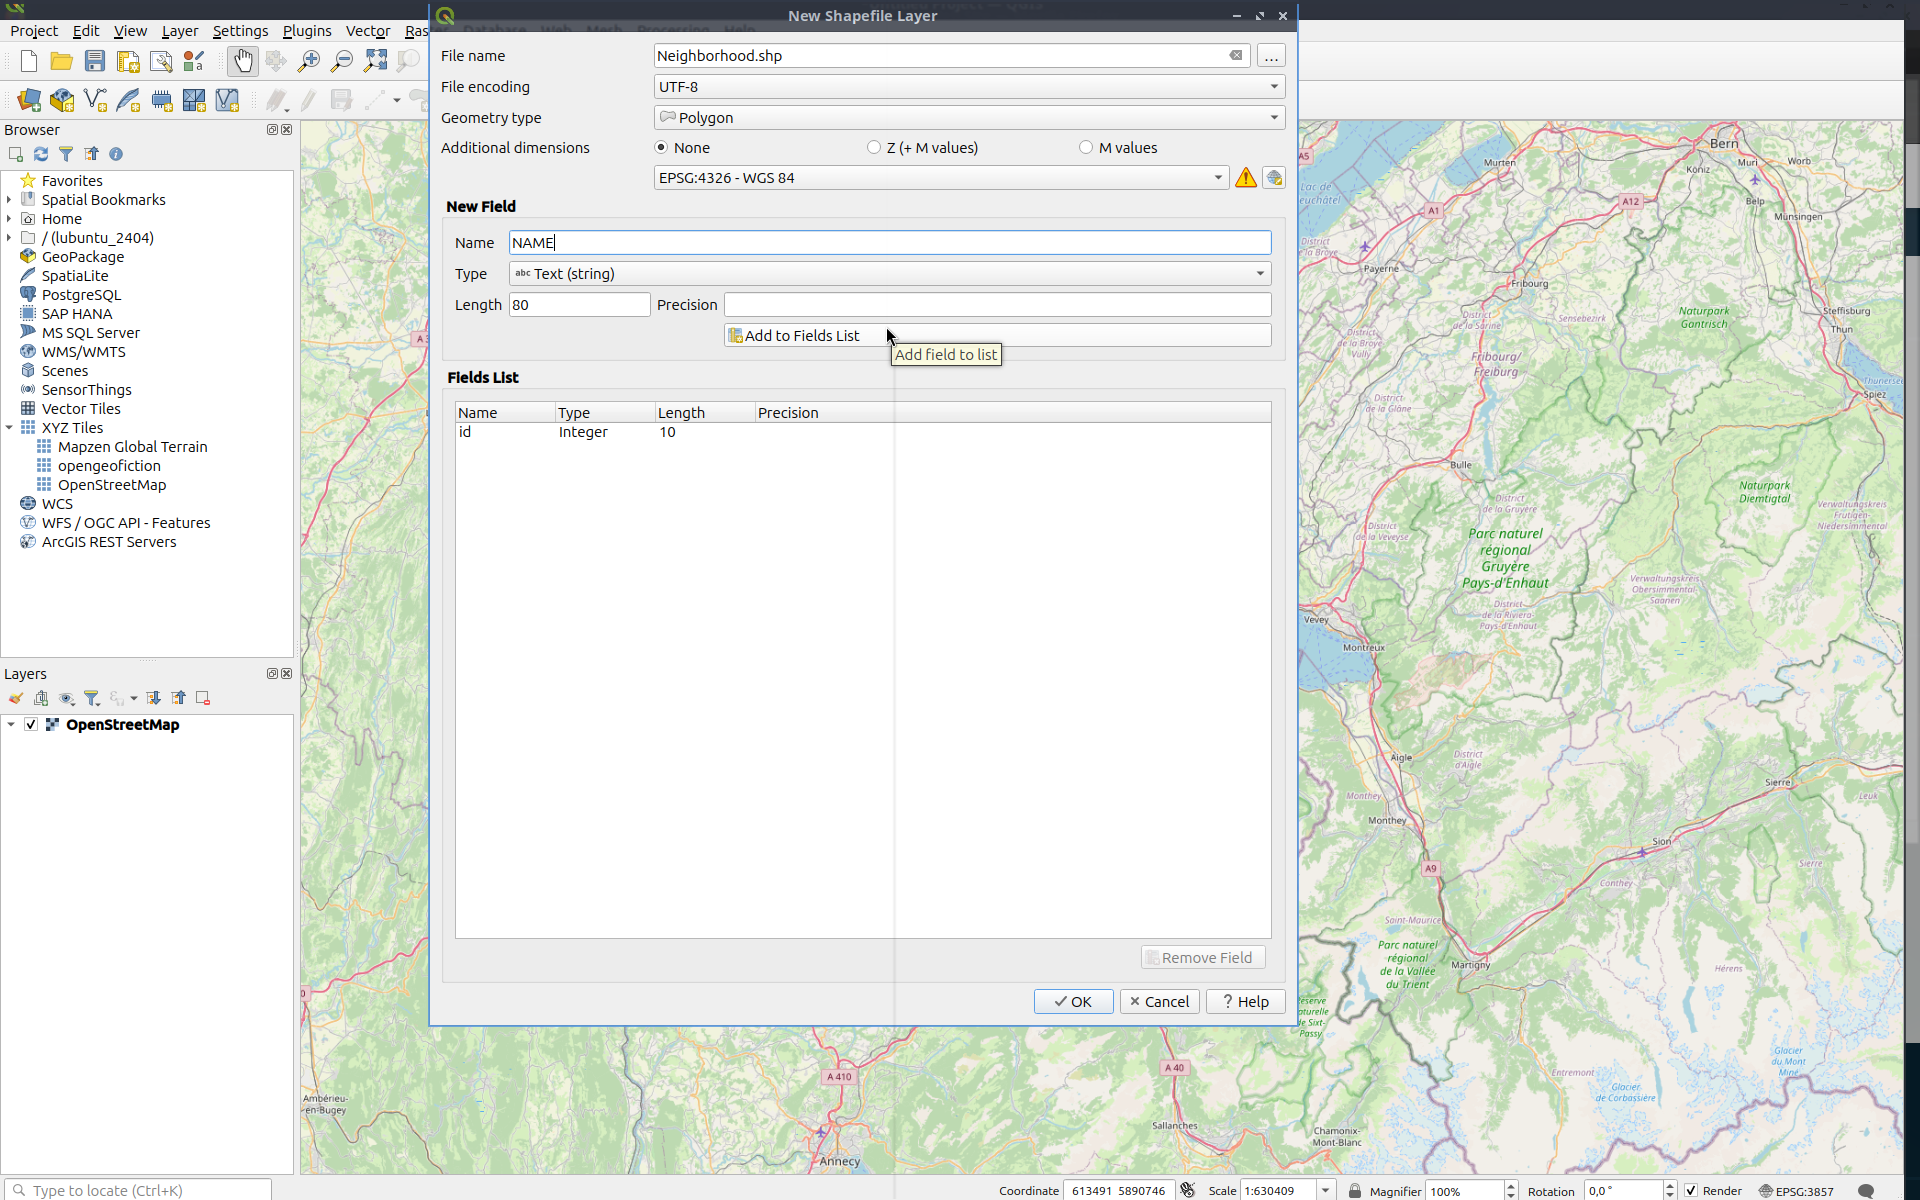
Add Details to the New Layer
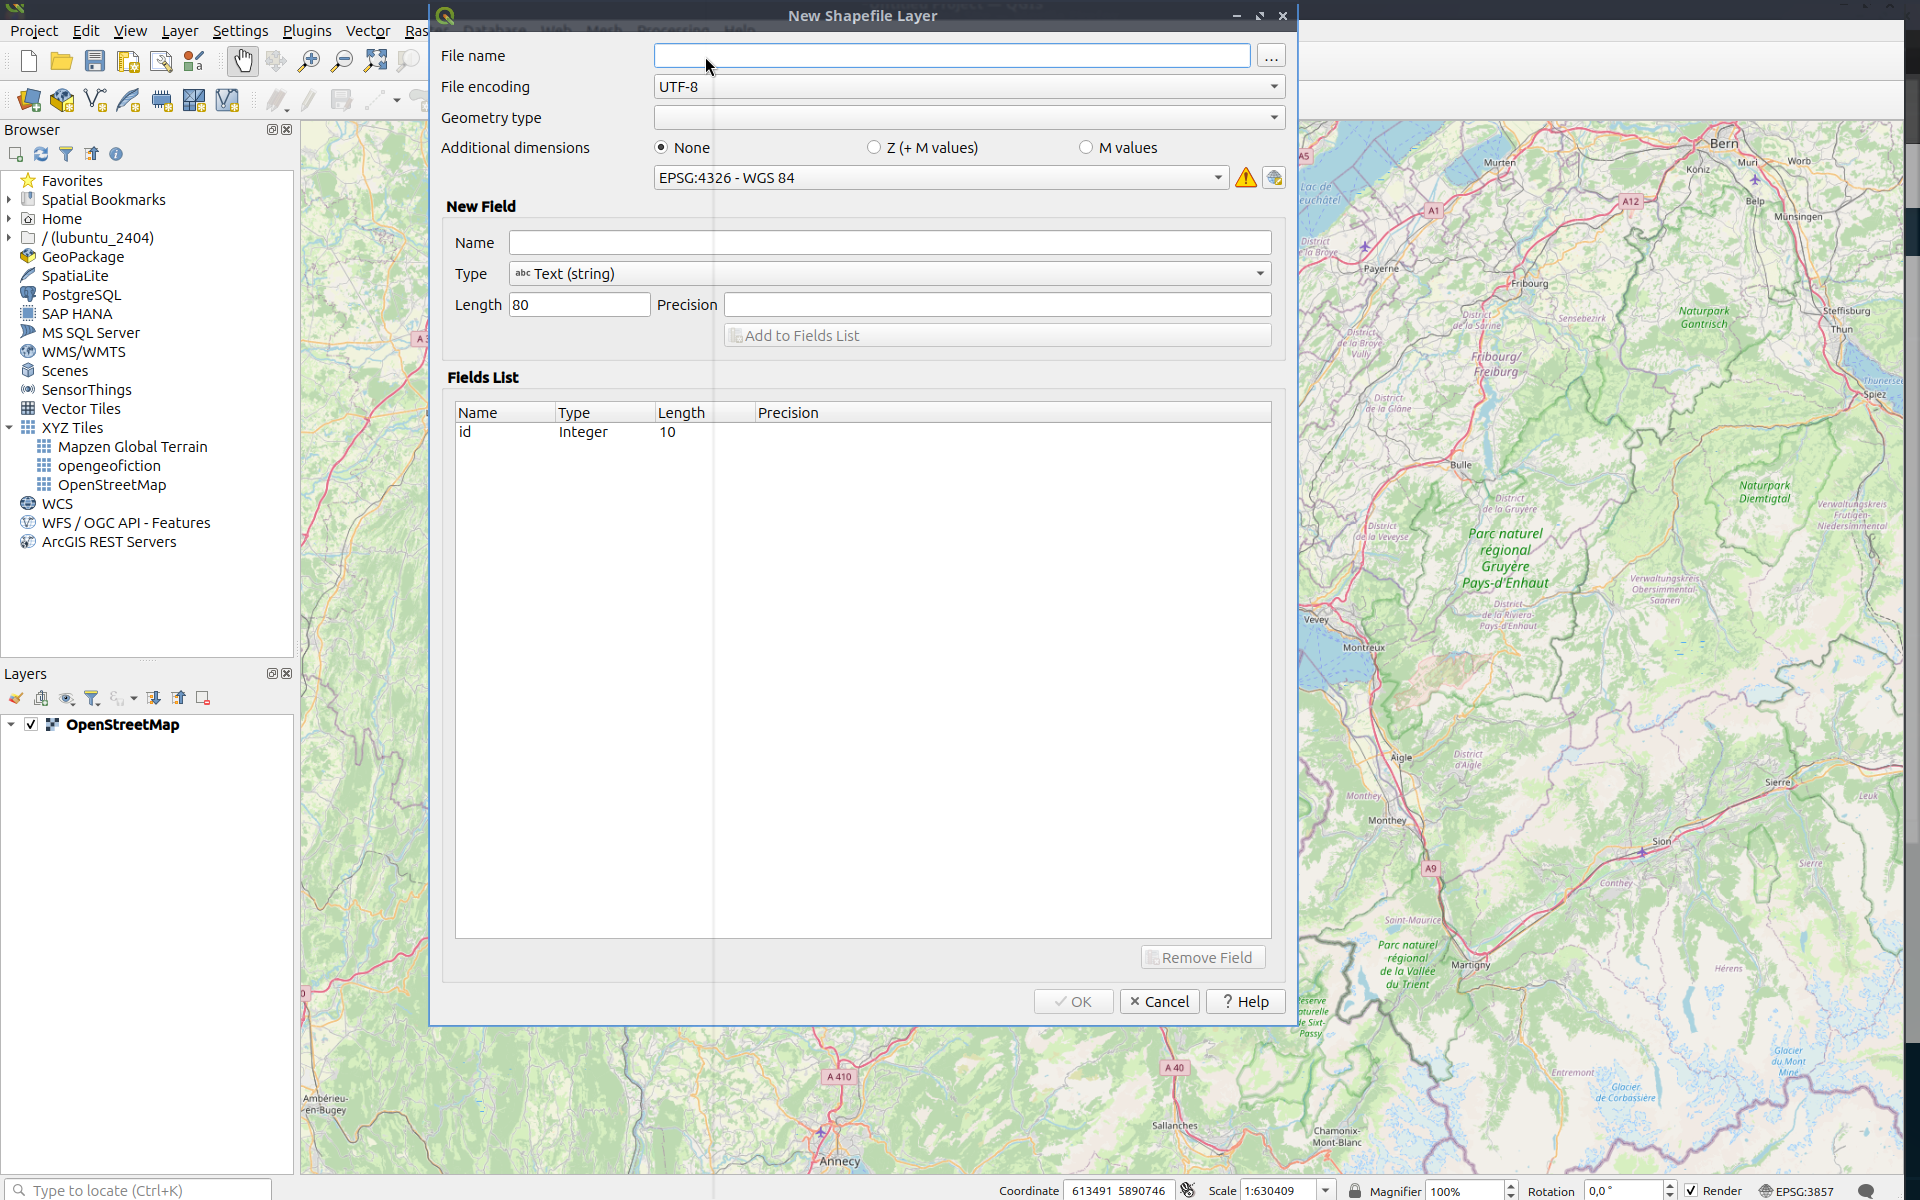
- File Name: The name of the layer you will work on
- File Encoding: UTF-8
- Additional Dimension: None, in WGS-84
Add a NAME Field
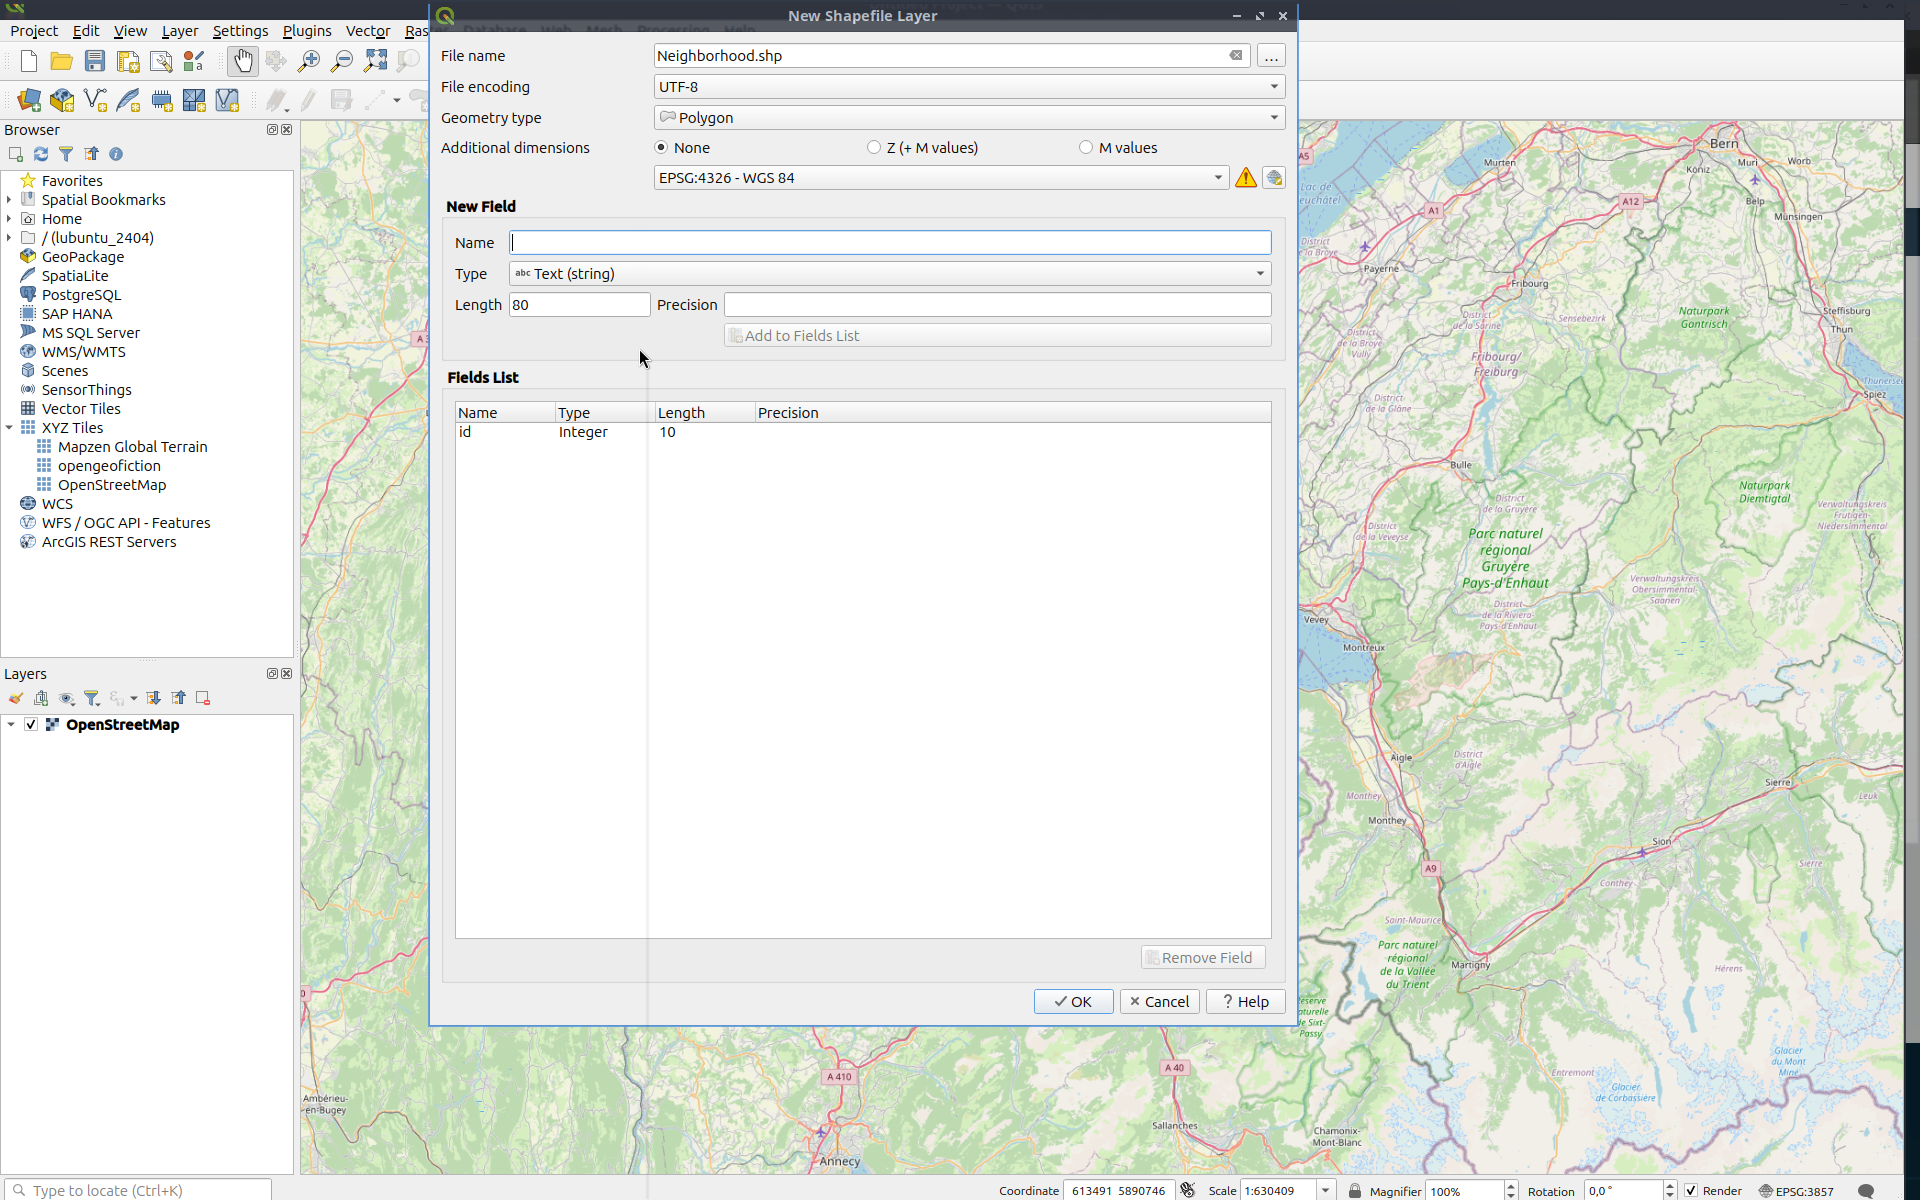
- Name: NAME
- Type: Text
- Length: Set the maximum length for your shape label (200 is usually sufficient)
Add Field to List
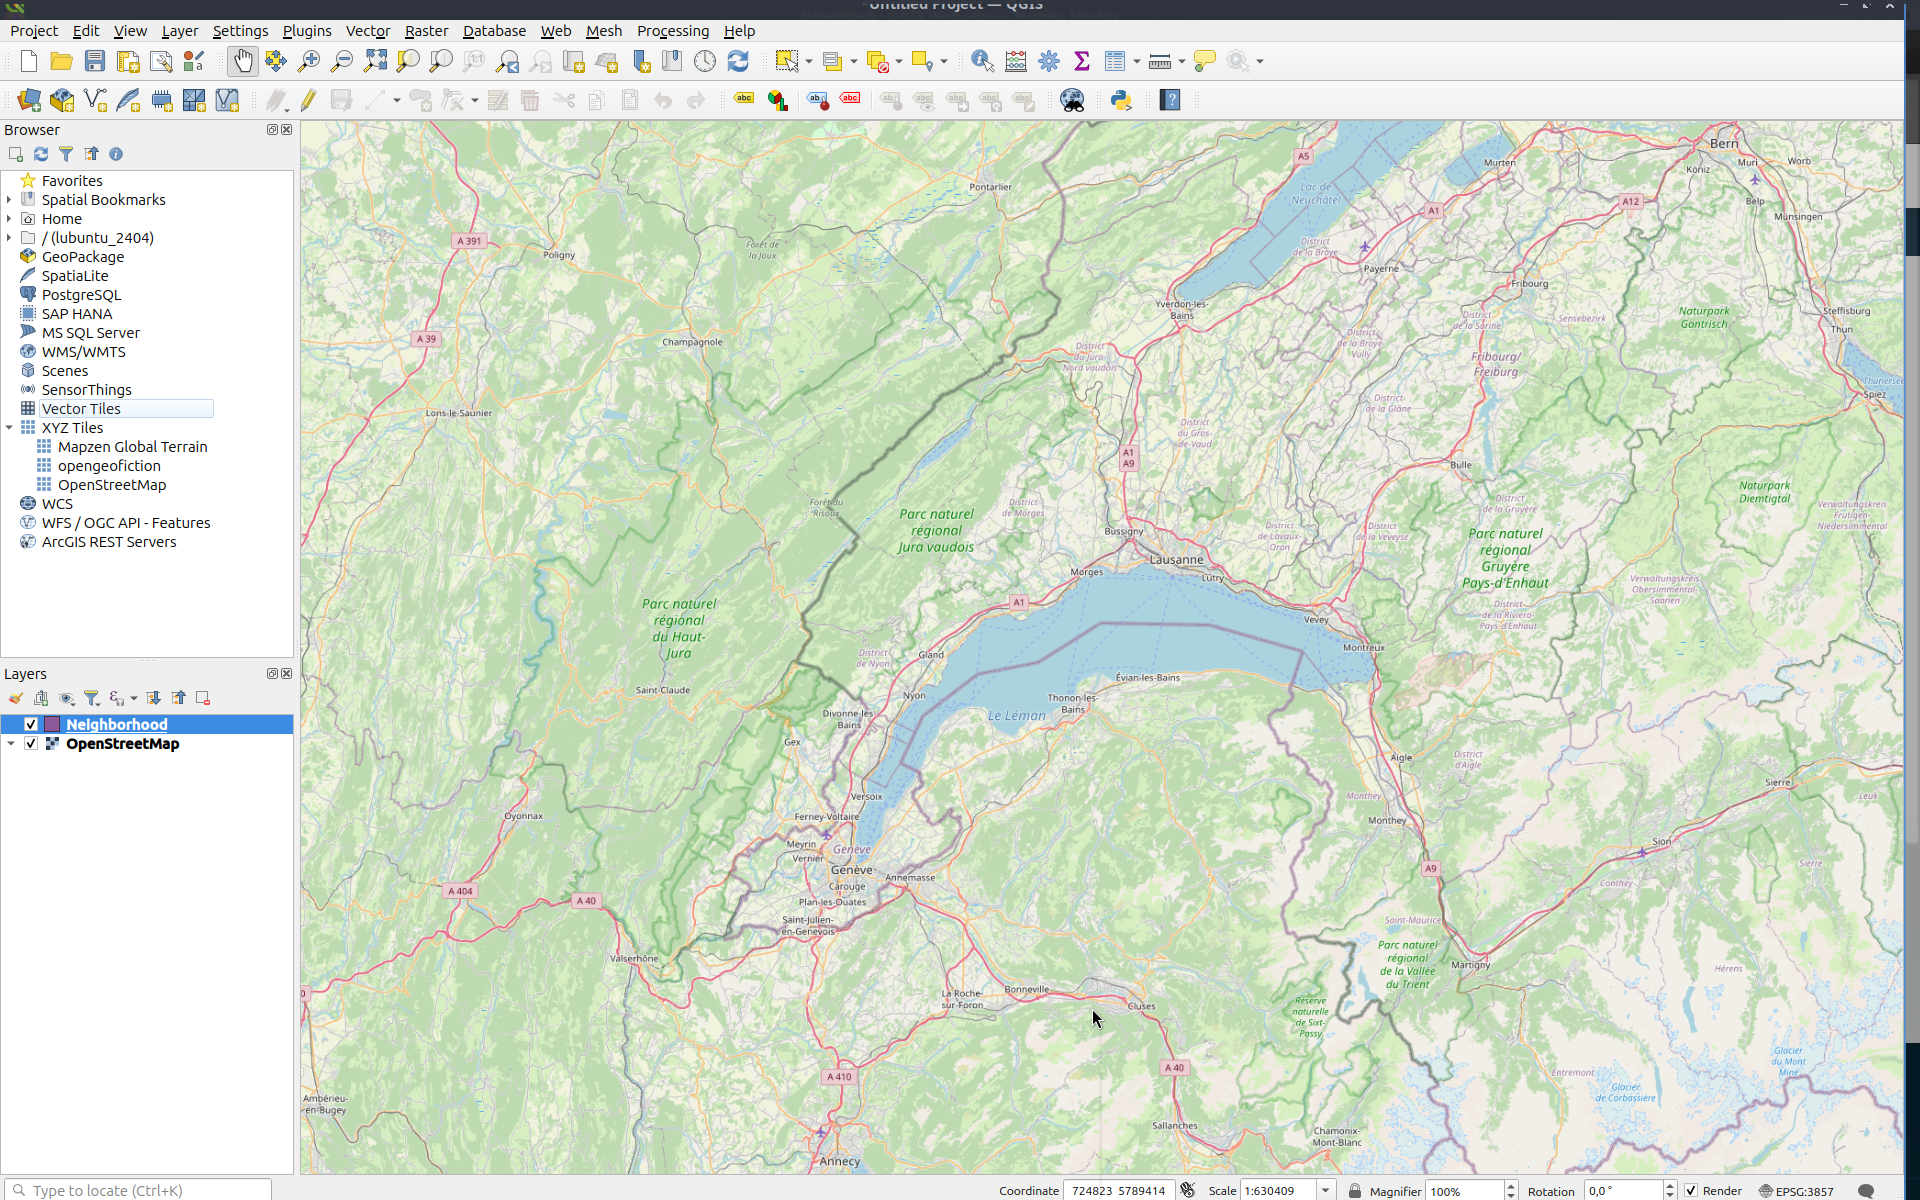
Select Your New Empty Layer
Click the Edit (Pencil) Button
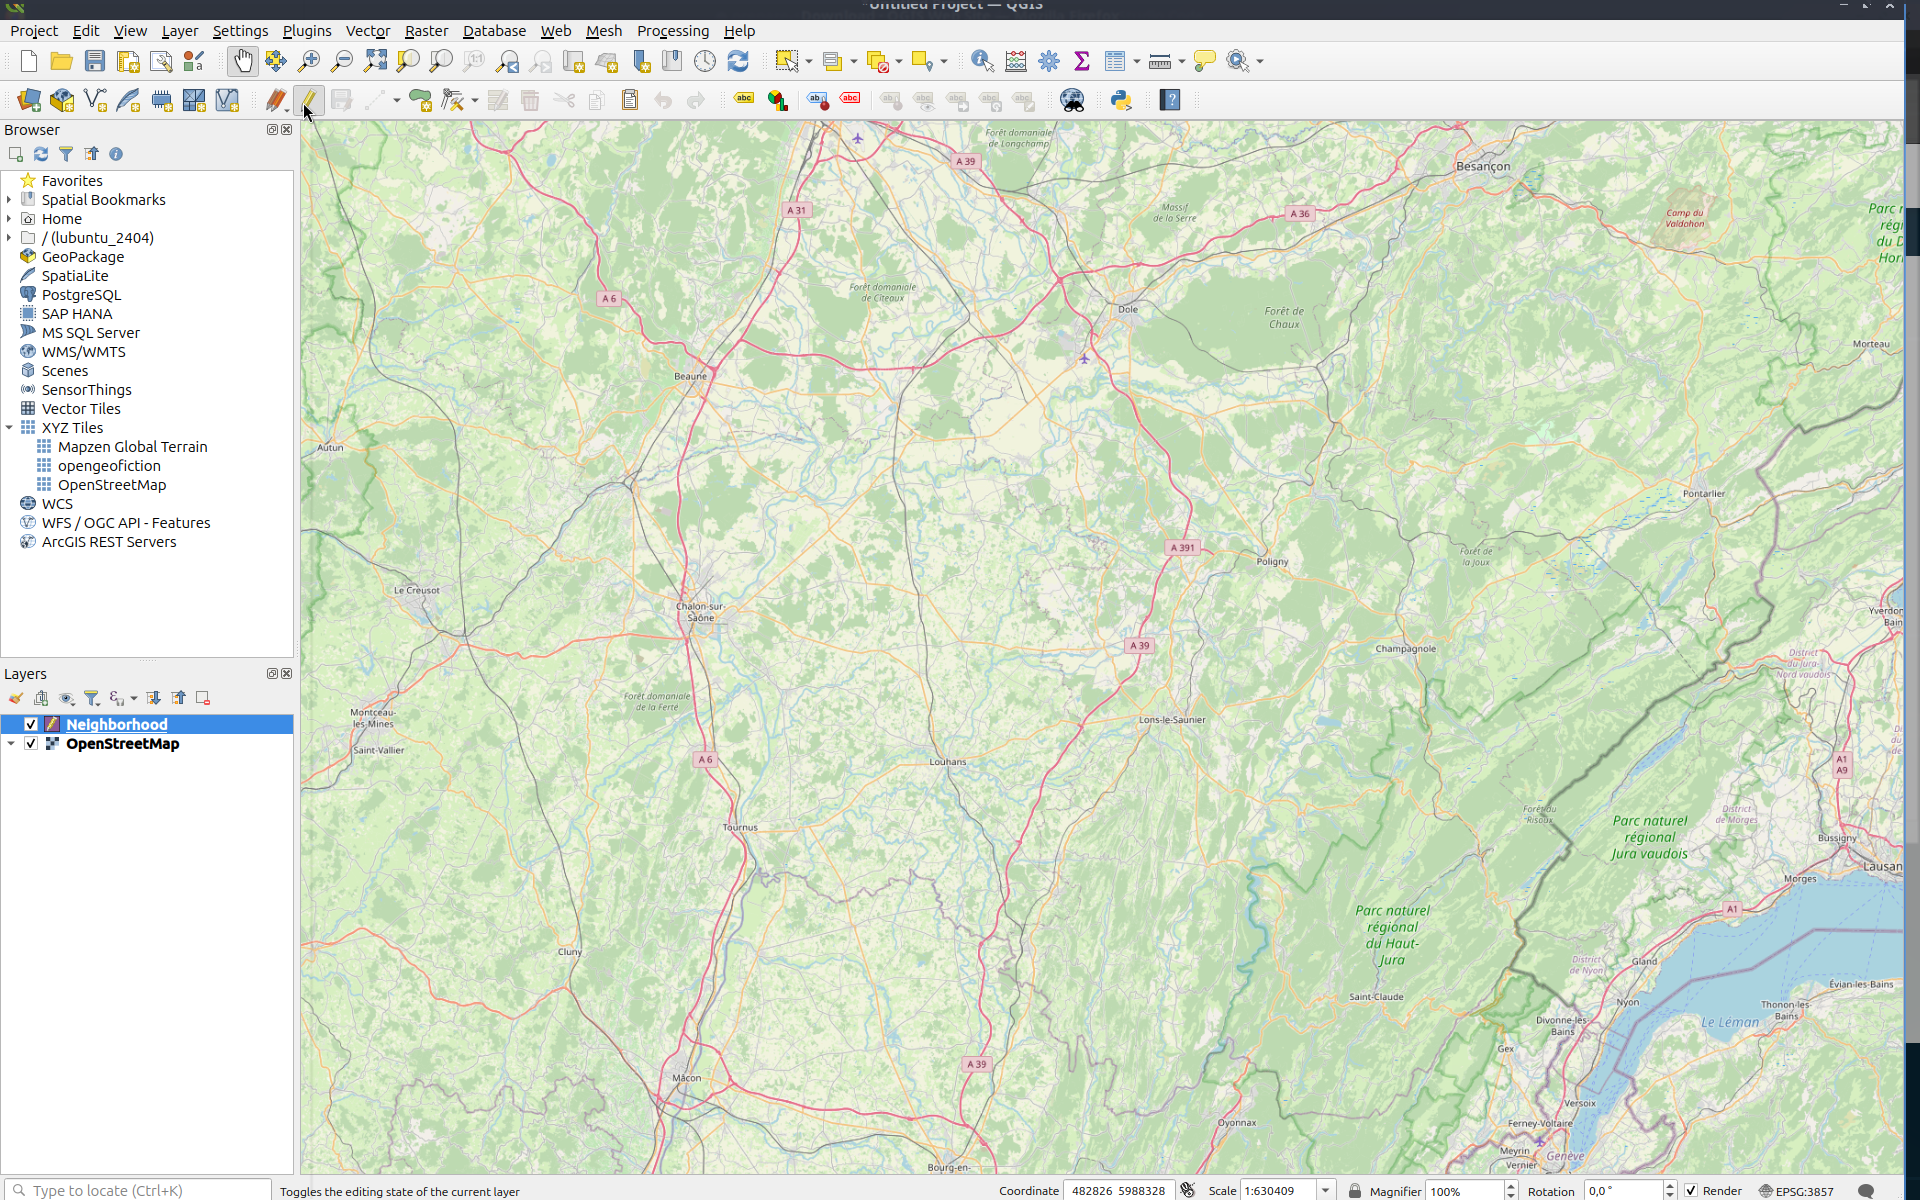
Click the pencil button on the top bar to start editing your shape.
Select Polygon Tool
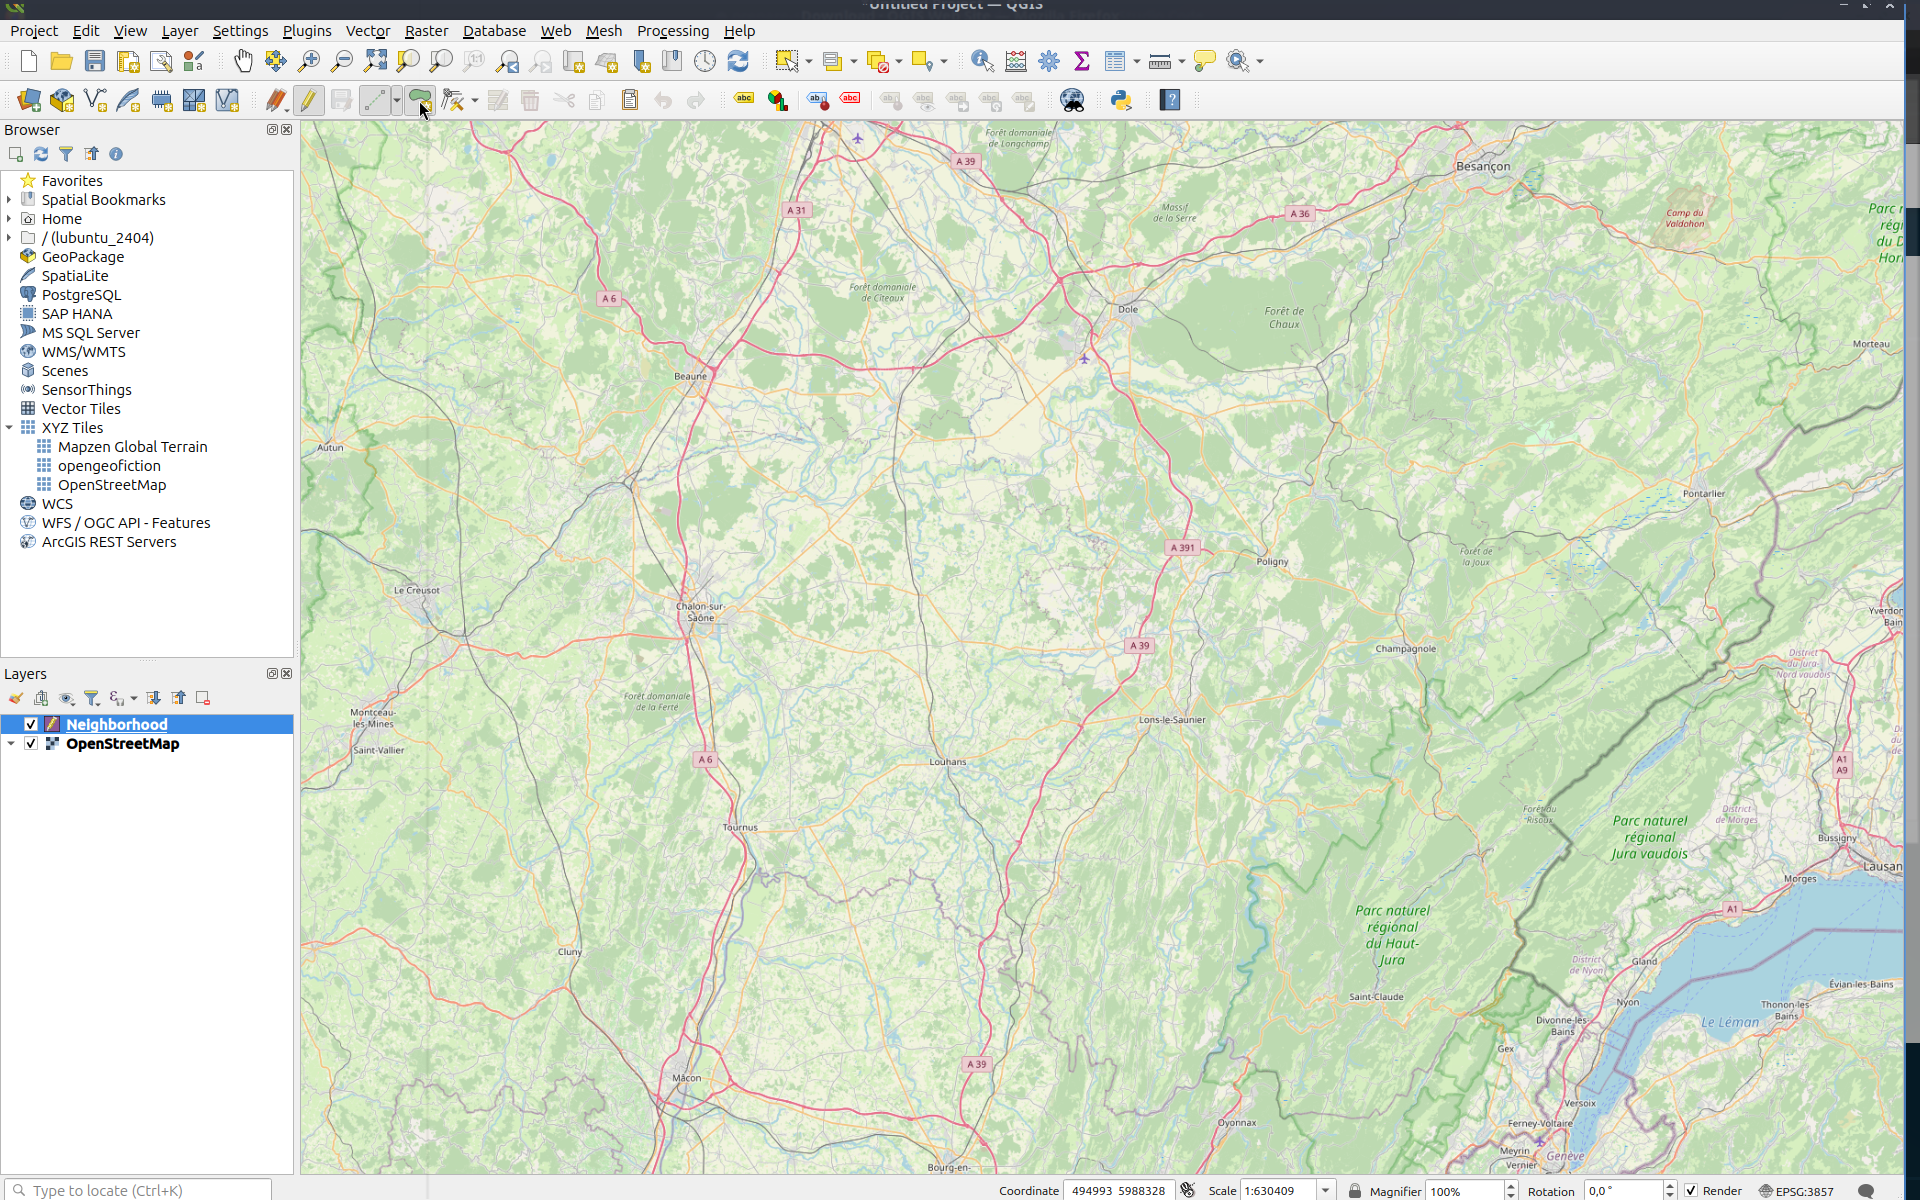
Draw Your Shape
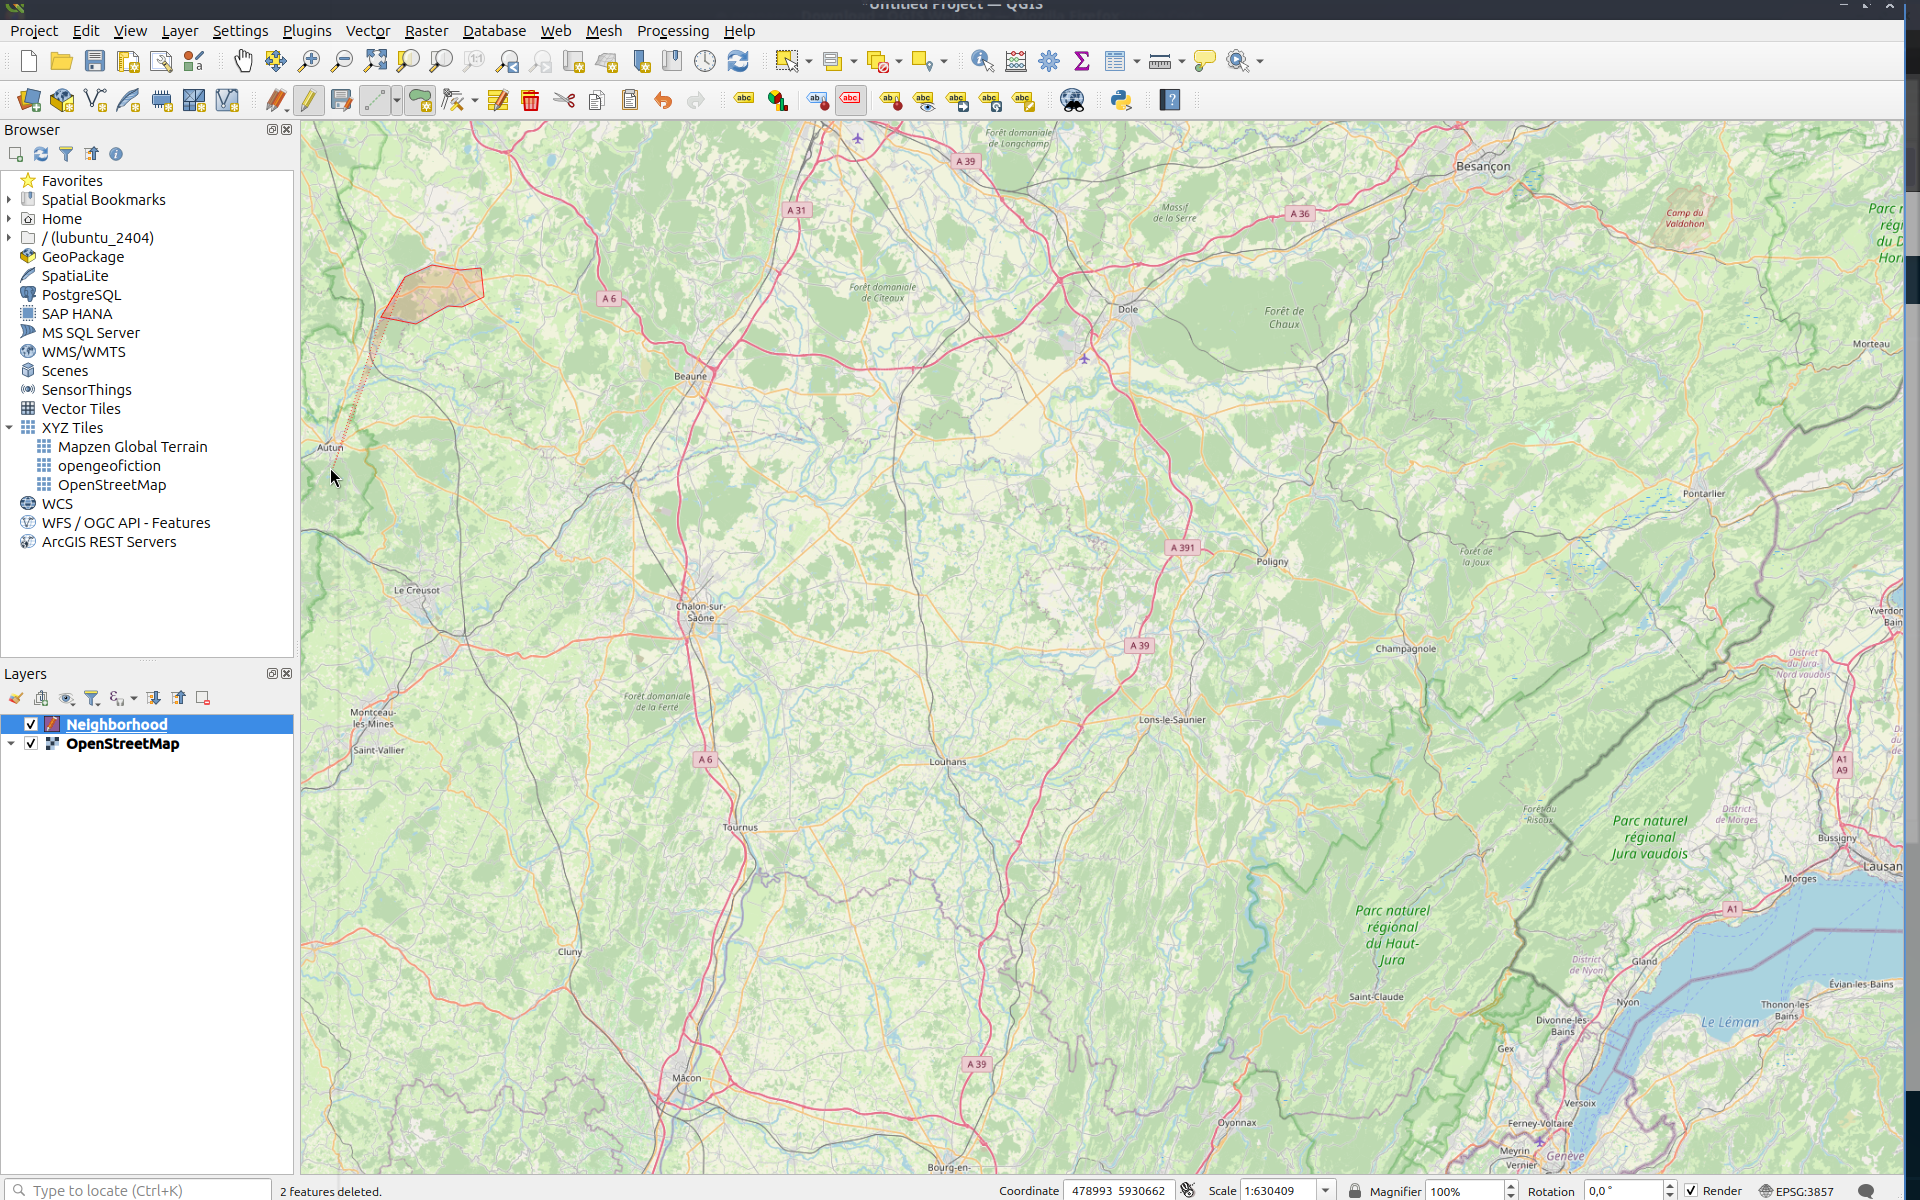
Click to define each point of your polygon. When complete, right-click to finalize the shape.
Complete the ID and NAME Fields
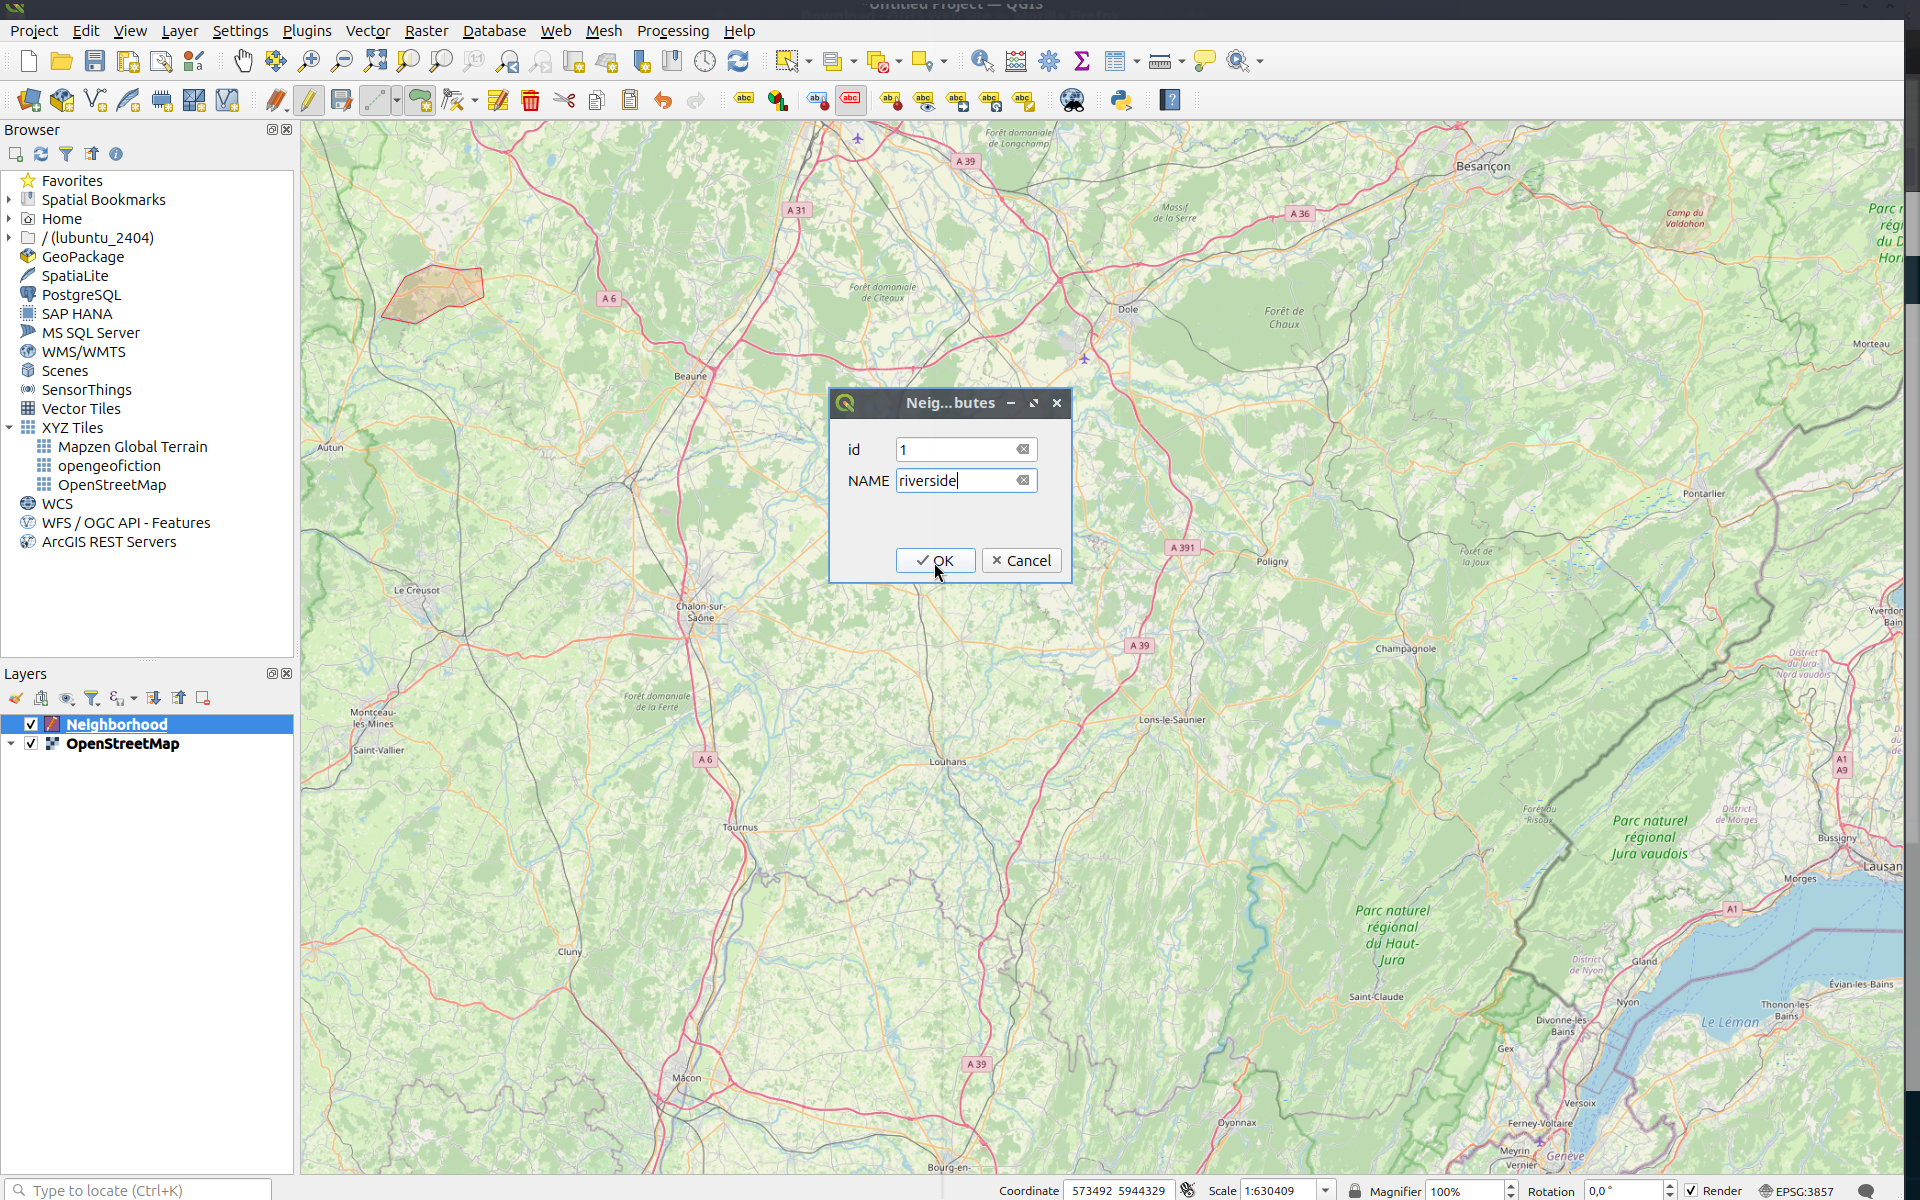
- ID: Any unique numeric value
- NAME: The label for the shape in Decidim (used by admins only)
Add More Shapes if Needed
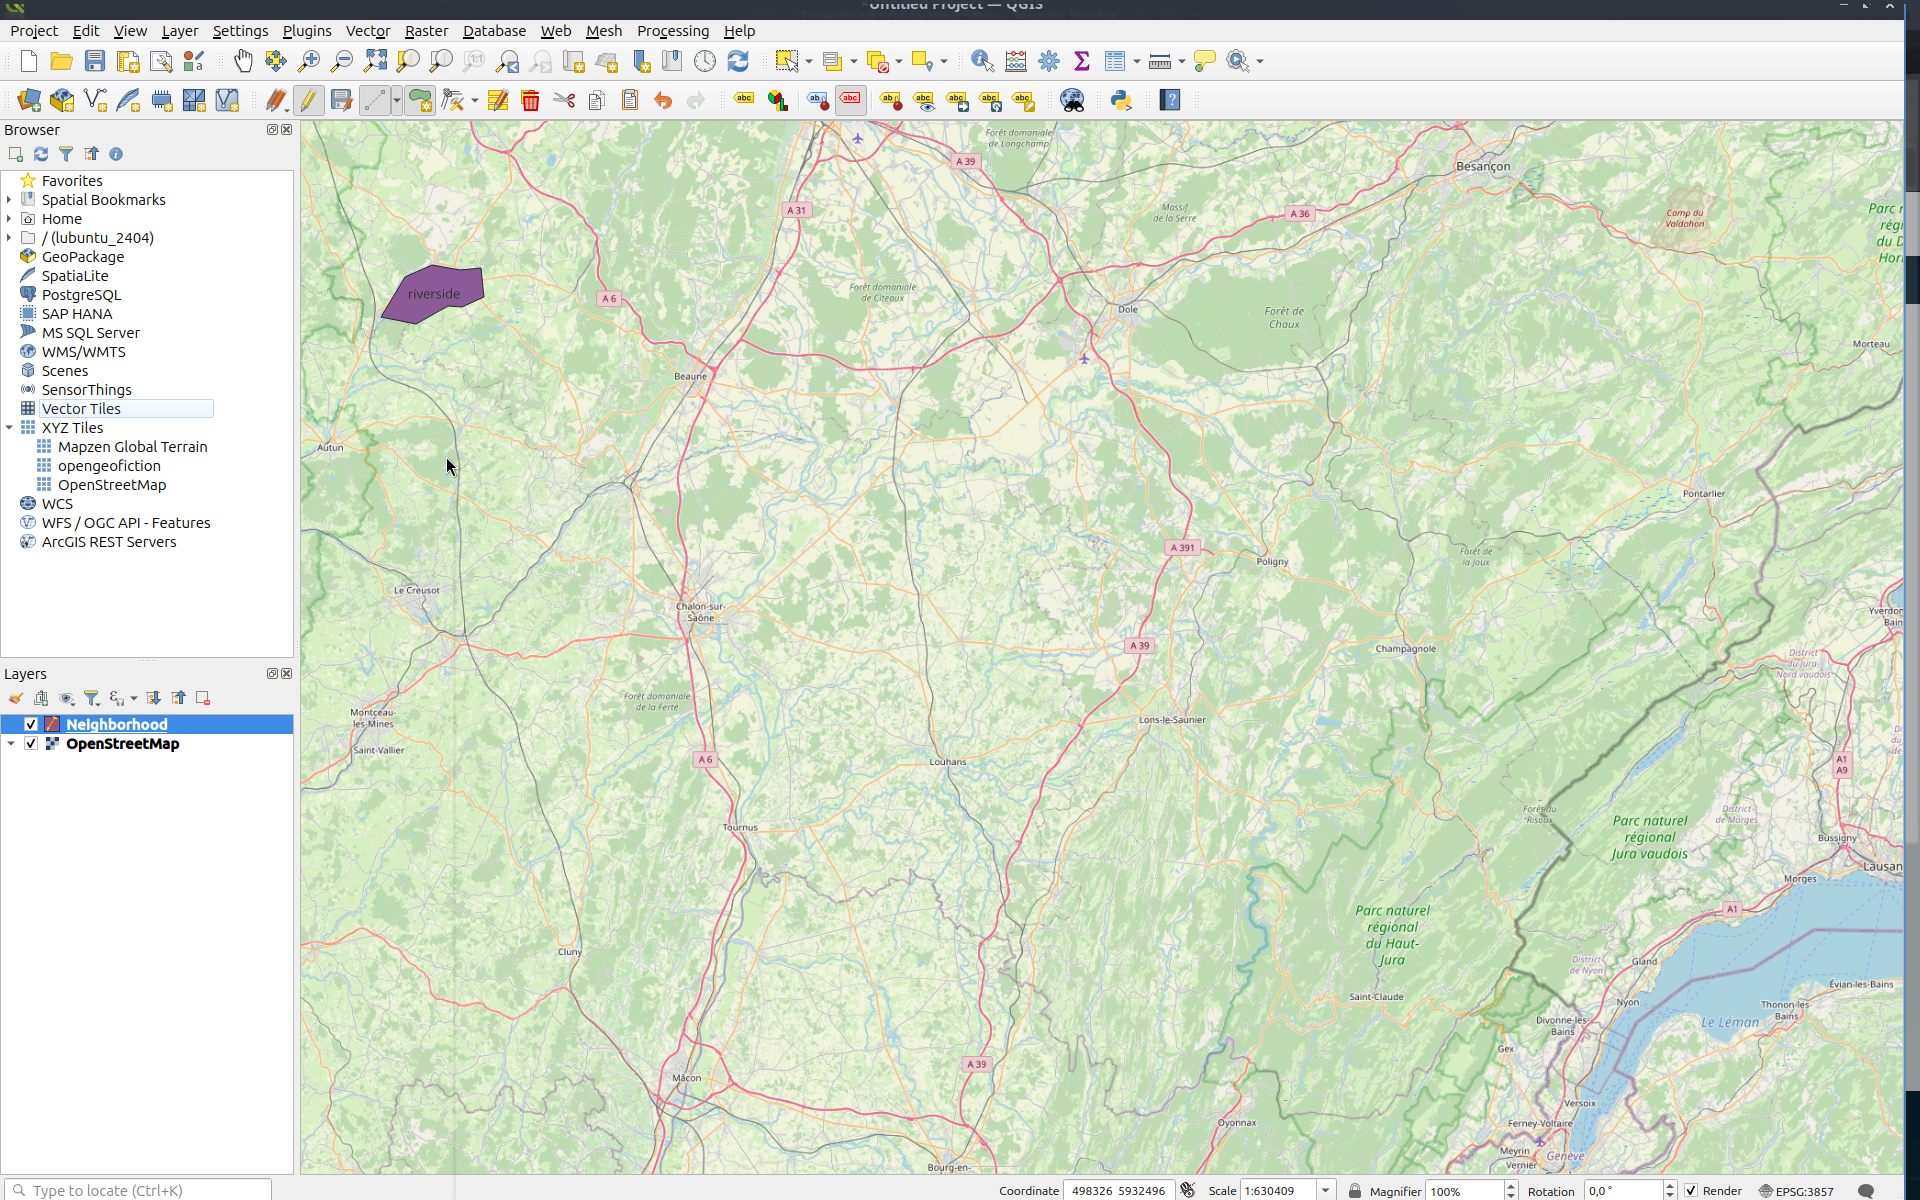
Export the Shape
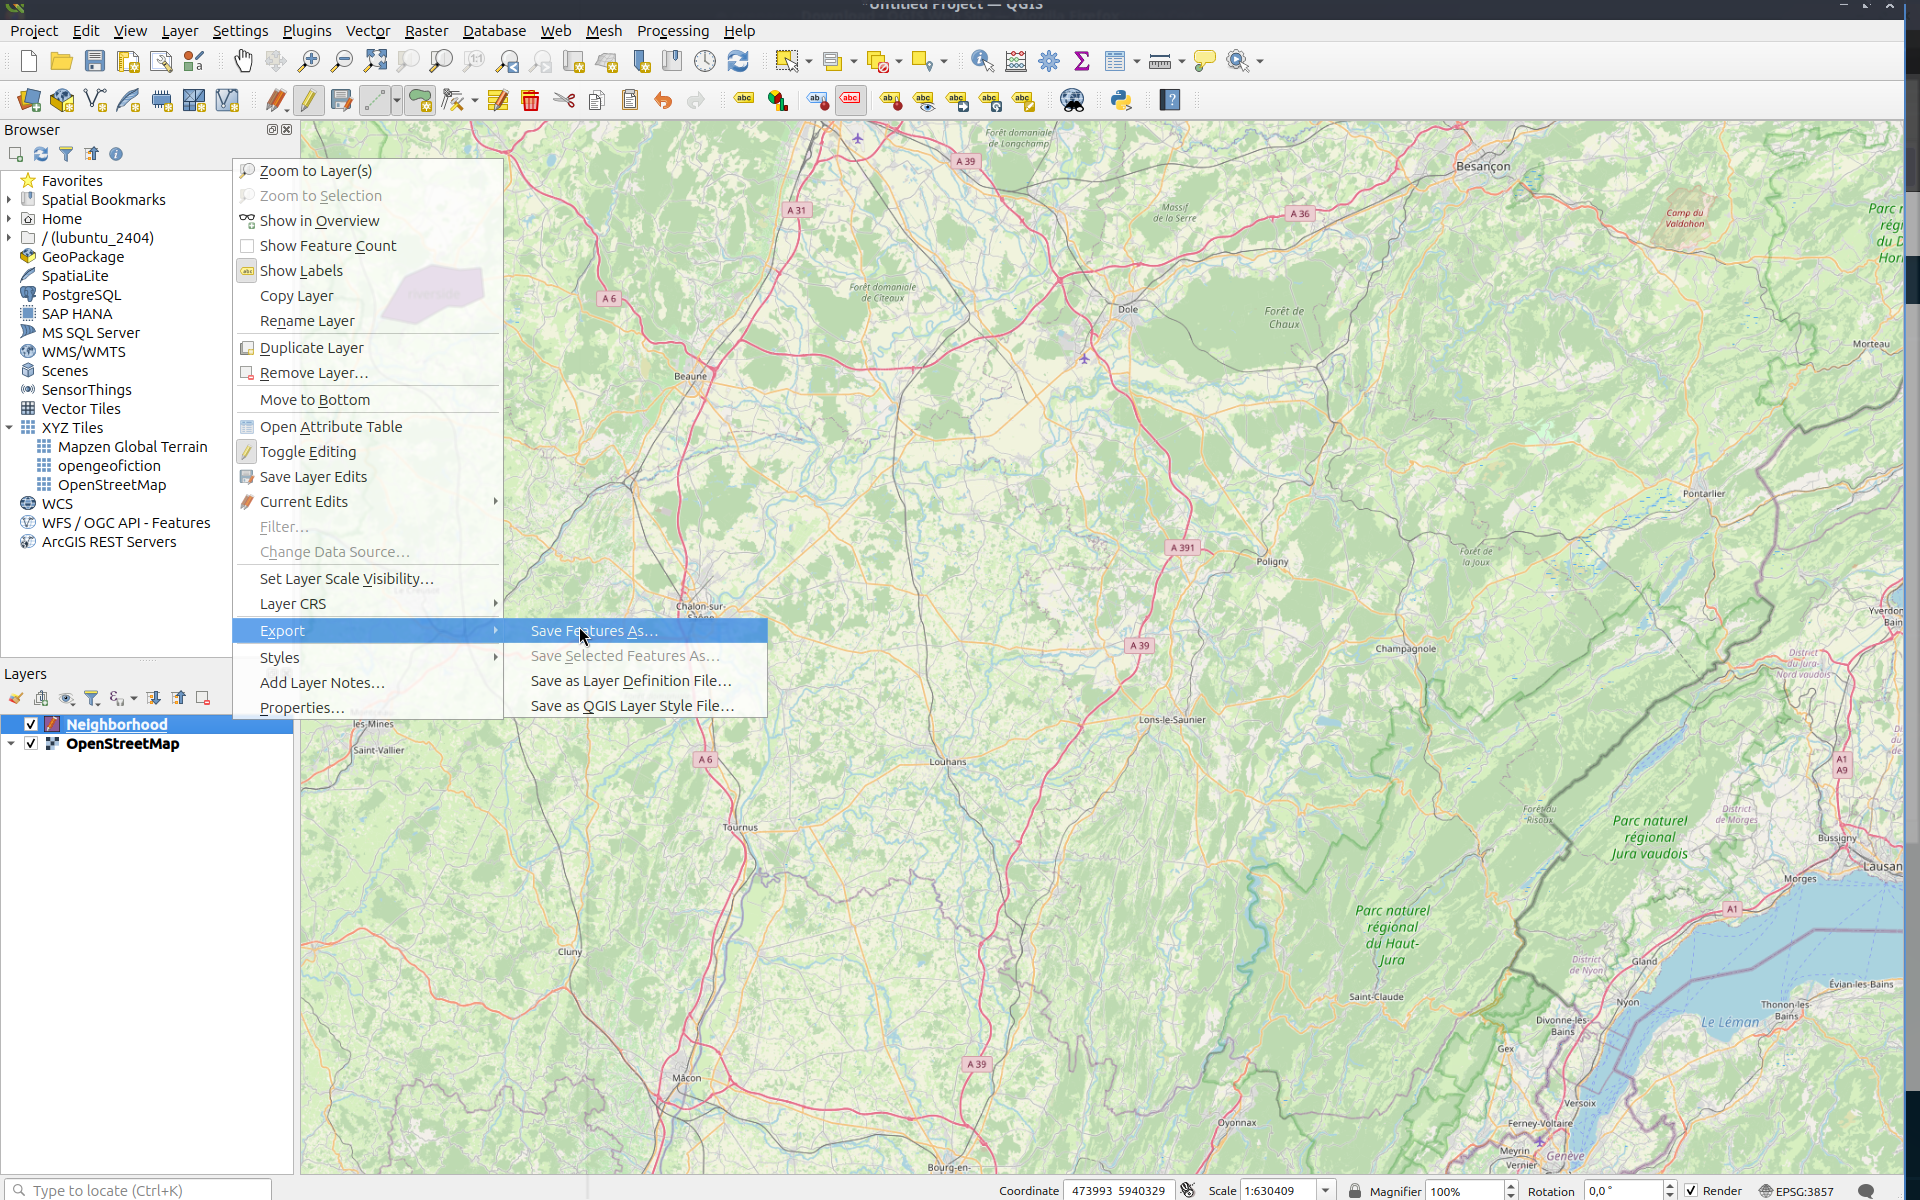
- Right-click on the shape layer
- Select Export > Save Feature As
Export Settings
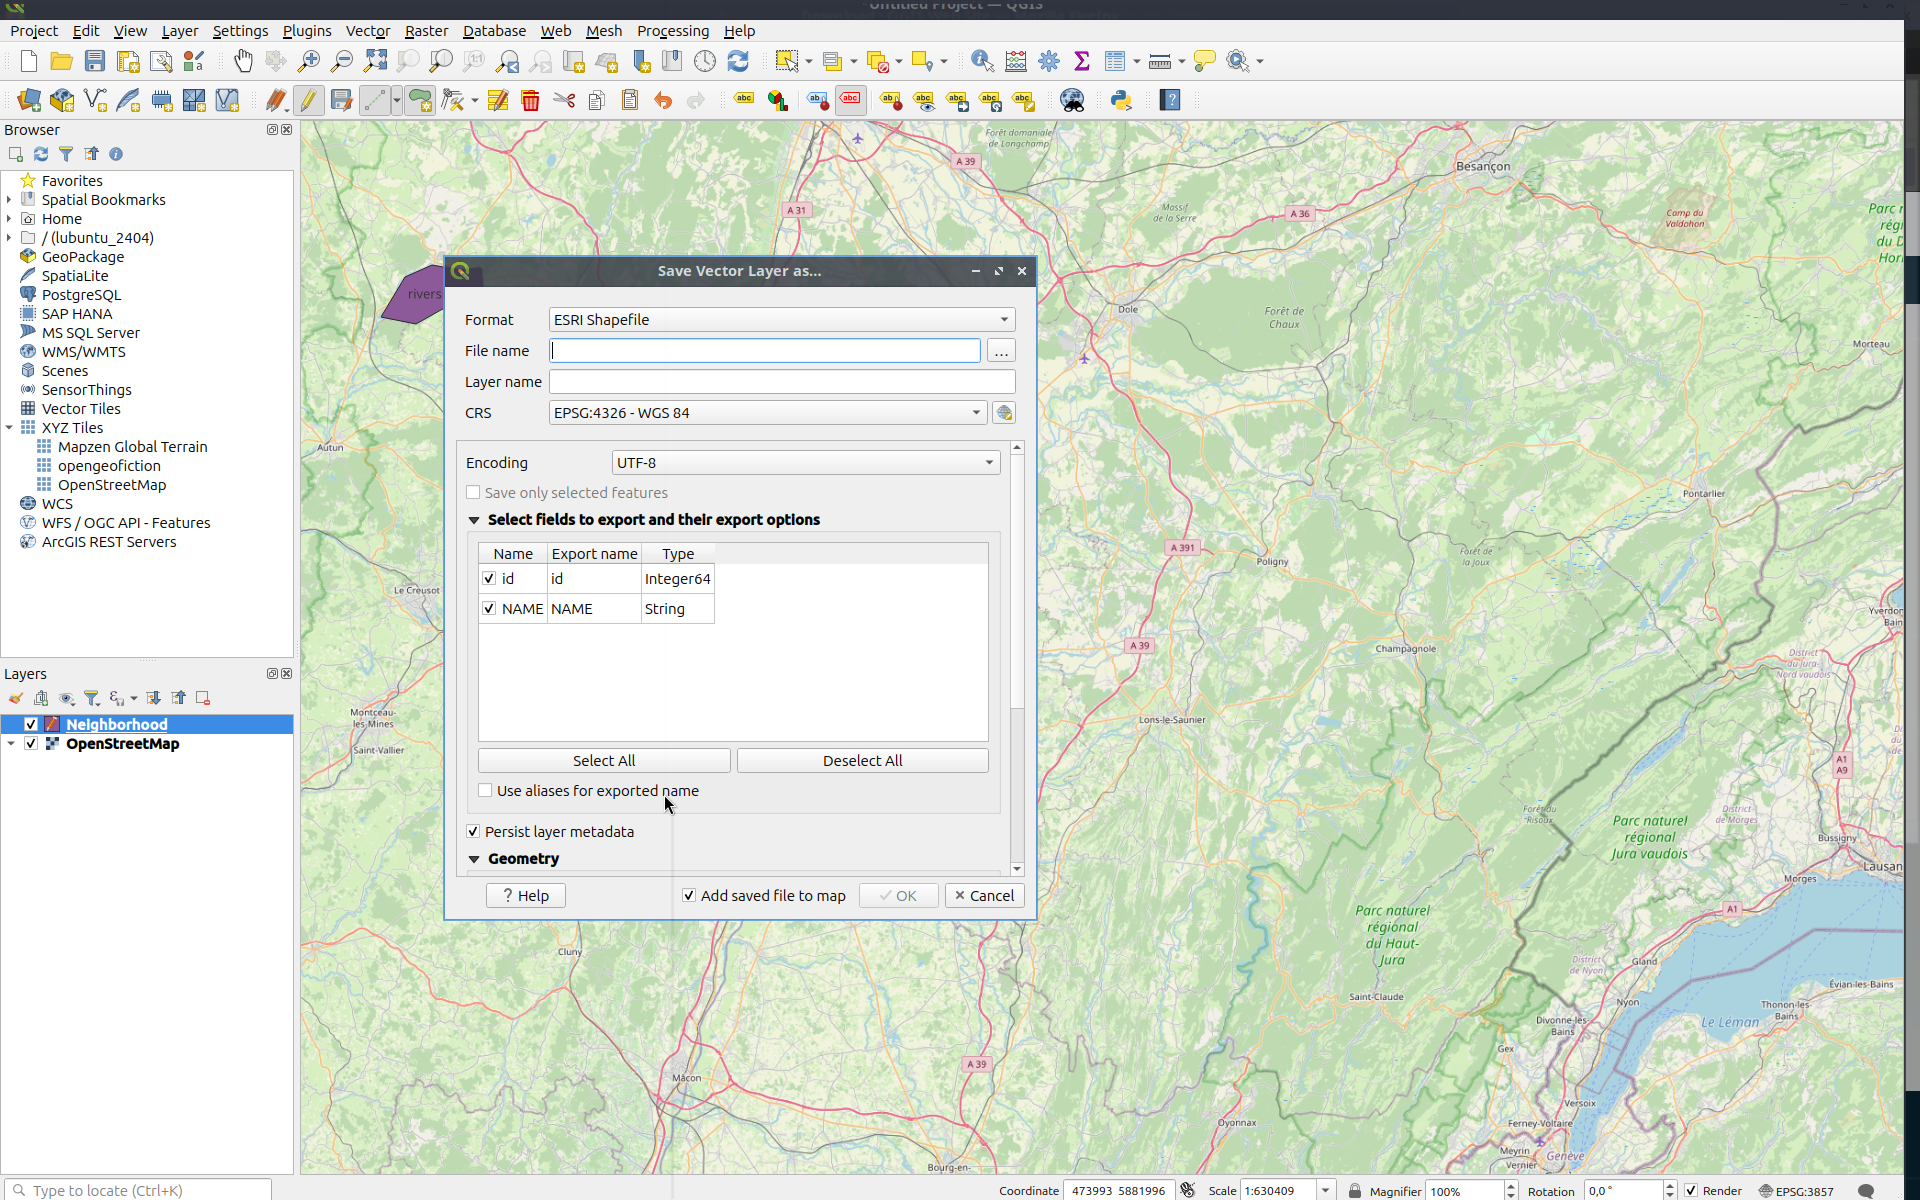
- Filename: Avoid special characters, spaces, or uppercase letters
- Layer Name: Same as filename
- CRS: WSG 84
Click OK to export.
Find the Exported Files on Your Computer
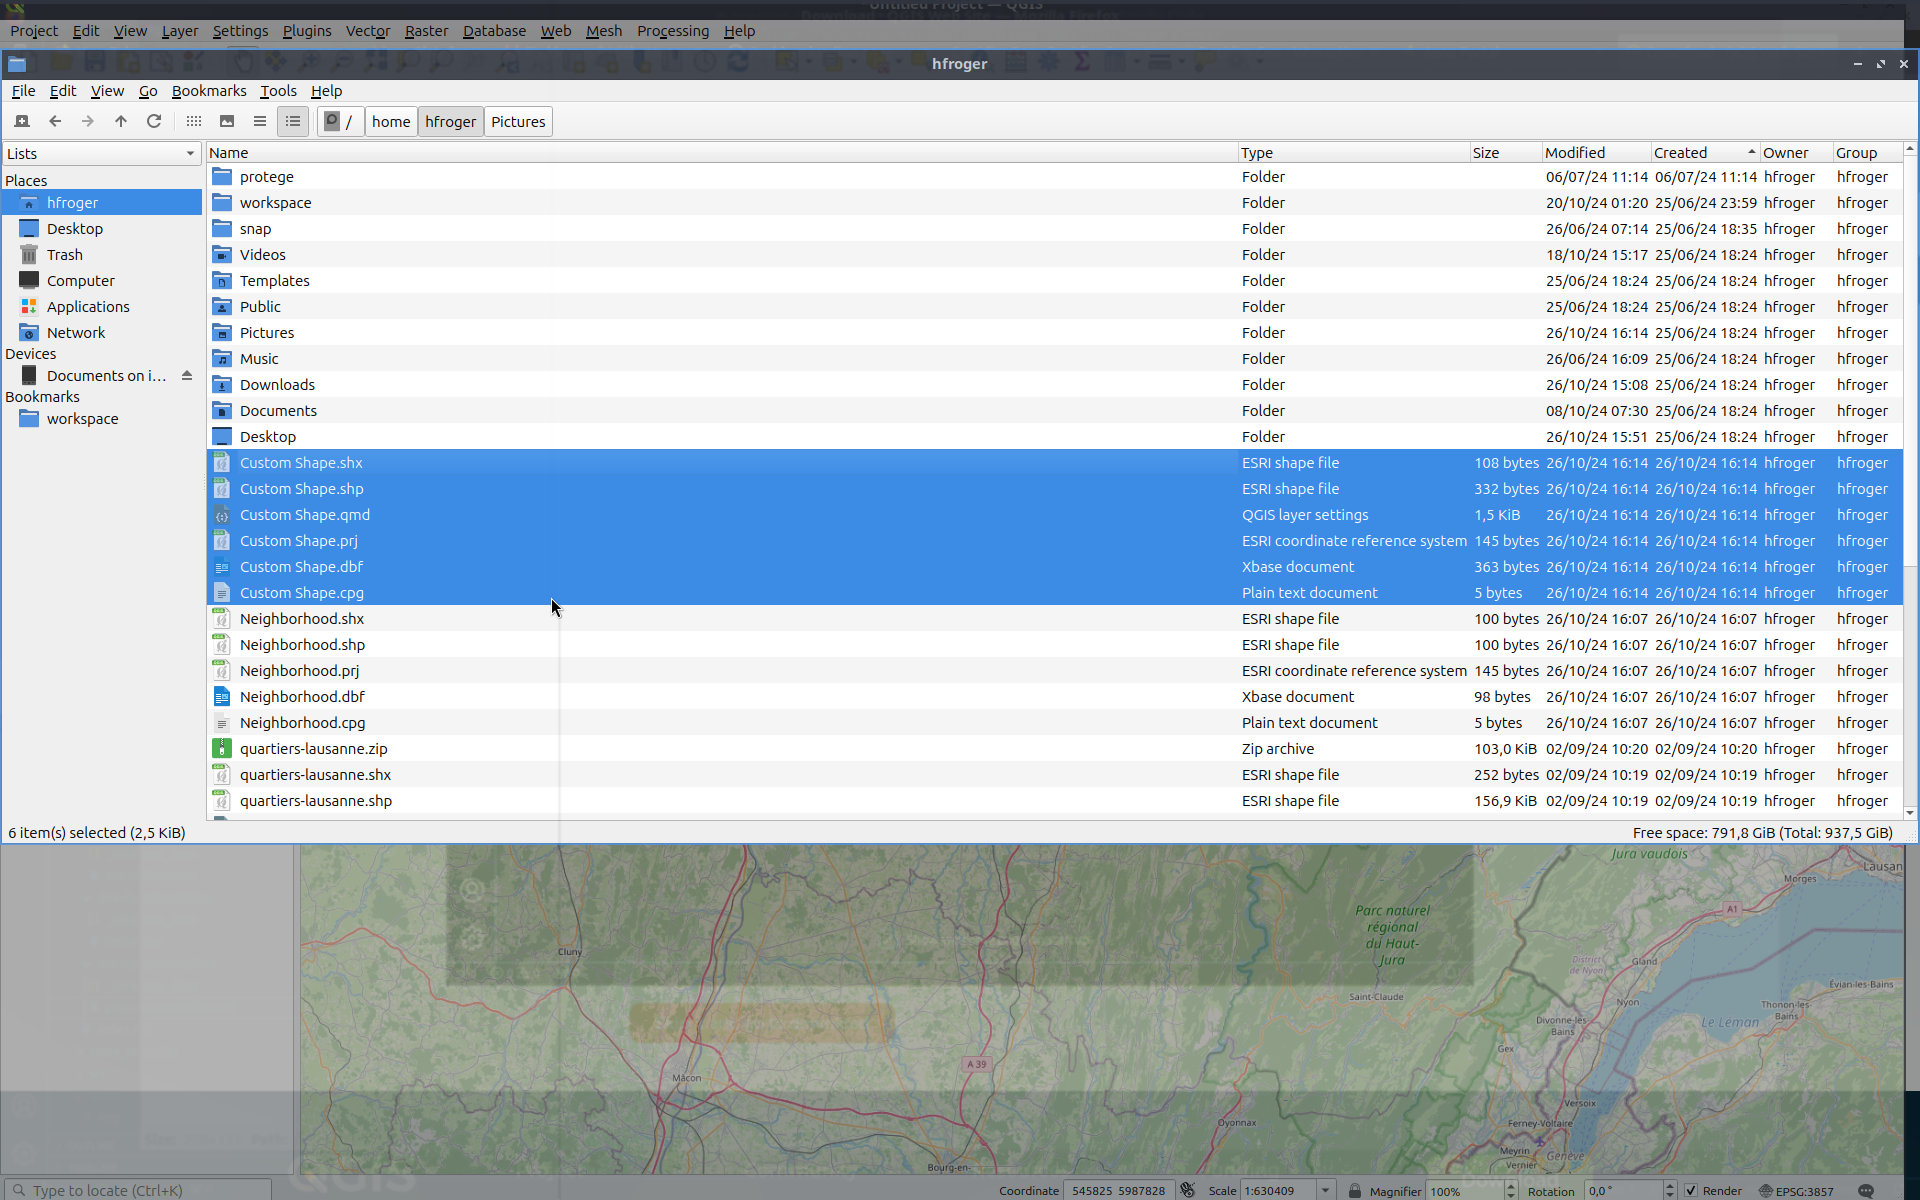
- Select all six generated files
- Compress these files into a zip file
-> Done! You now have a zip file that can be uploaded through the Decidim administration.